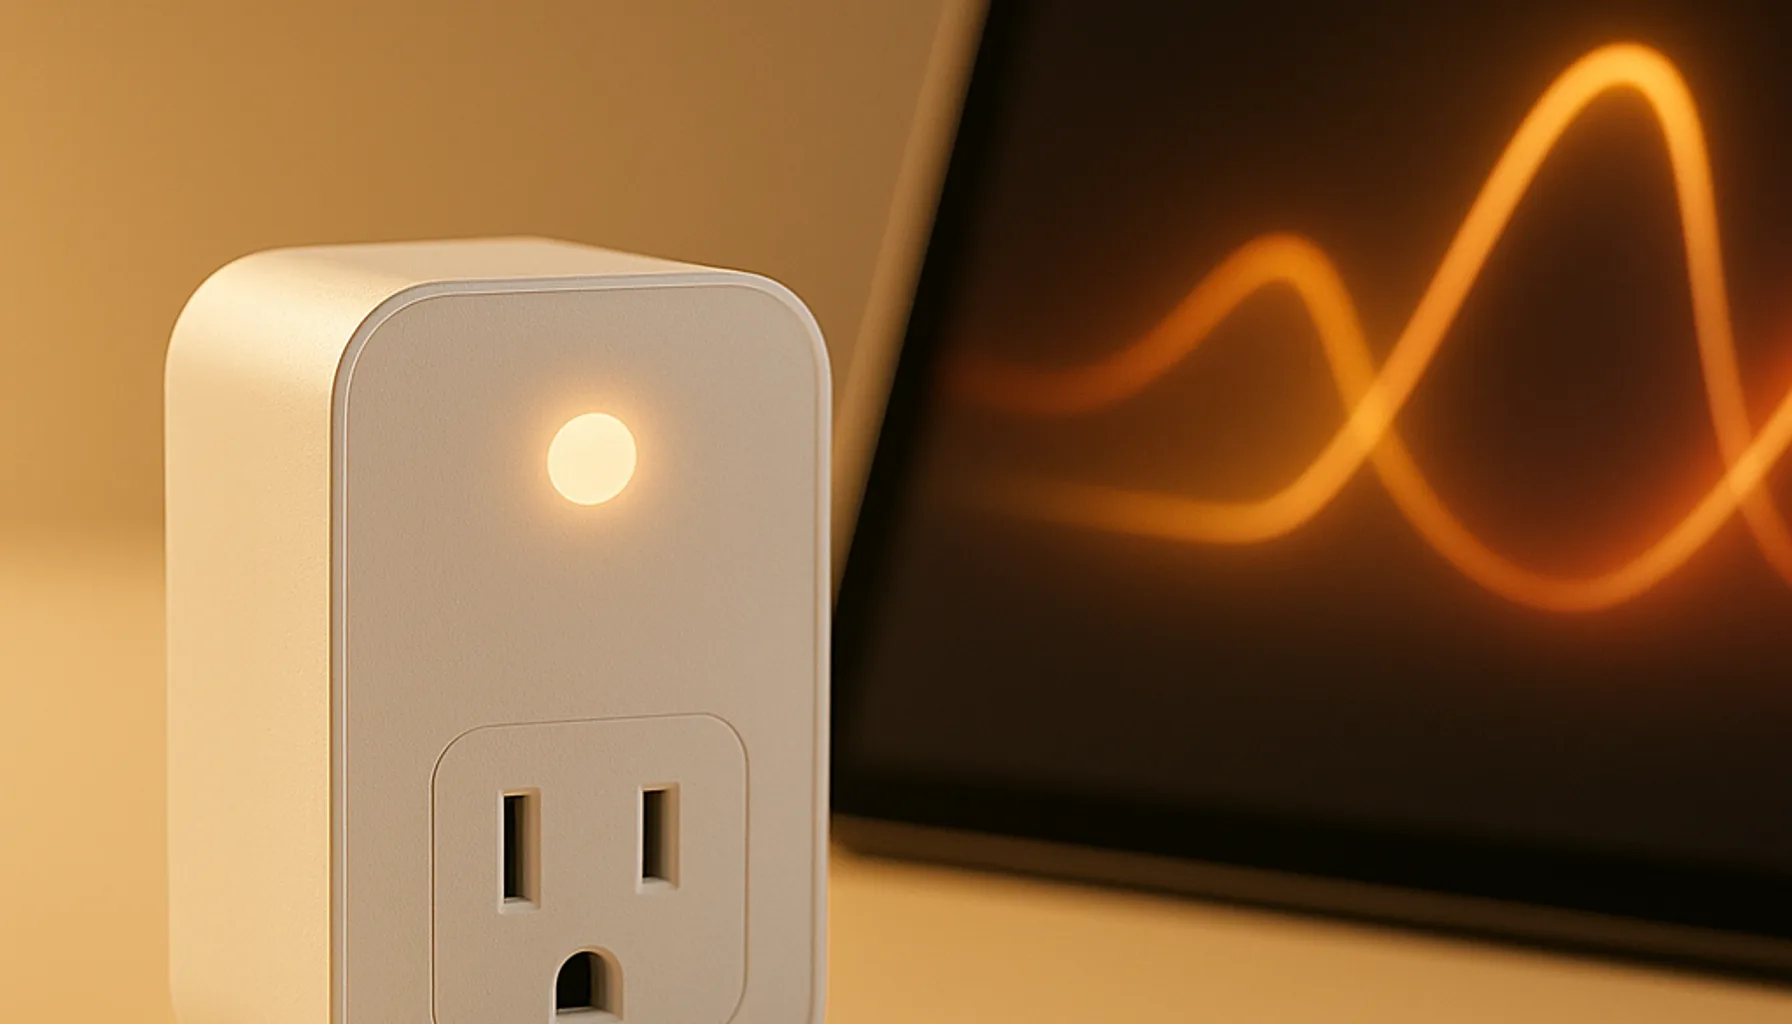
Short answer: The cheapest way to start monitoring energy with Home Assistant is a Zigbee plug with power monitoring, like the SONOFF S60ZBTPF: it reports watts and kilowatt-hours locally over your Zigbee mesh, costs about €15, and doubles as a network repeater. Pair it, add the device to the built-in Energy dashboard, store history in InfluxDB, then automate. The first plug we added found a permanent 11 W standby draw on an old TV setup — roughly €25 per year of pure waste, discovered in an afternoon.
What energy monitoring in Home Assistant involves
Energy monitoring is a four-layer stack, and it helps to see it that way before buying anything:
- Hardware — something that measures power per device (or a whole-house meter).
- Entities — Home Assistant turns each measurement into a number (watts now, kilowatt-hours since).
- Storage — so you can look back, compare, and build reports.
- Actions — automations and alerts that actually save you money.
The good news: Home Assistant has a built-in Energy dashboard (home-assistant.io/docs/energy/) that handles layer 2 and much of layer 3 out of the box. You configure your electricity grid and your devices, and HA collects long-term statistics automatically. For heavier history needs — years of data, custom queries, Grafana dashboards — you add InfluxDB (more on that in step 3).
Step 1 — Pick hardware that reports watts
Whole-house meters (current clamps, smart meter readers) are a great second step, but per-device plugs give you the actionable data first. Look for three things:
| What to look for | Why it matters |
|---|---|
| Reports both W and kWh | Instant wattage for automations, accumulated kWh for cost tracking |
| Zigbee 3.0, local | No cloud, no account, data stays in your home; works with ZHA or Zigbee2MQTT |
| Mains-powered | A mains plug acts as a Zigbee repeater — you improve your mesh while you monitor |
Our everyday pick is the SONOFF S60ZBTPF (UK / DE / NL): around €15, compact EU plug, Zigbee 3.0, energy monitoring, and first-class Zigbee2MQTT support. We run several on our 46-device network (see our Best Smart Plug under €20 guide for the full comparison).
Step 2 — Get the data flowing
Pair the plug through Zigbee2MQTT or ZHA like any other Zigbee device (our starter guide walks you through the whole setup). You’ll get new entities automatically:
power— current draw in watts (updates every few seconds)energy— accumulated kilowatt-hourscurrentandvoltage— useful for spotting odd wiring
Open Settings → Energy in Home Assistant, add your electricity grid (cost per kWh — check your bill), and add the plug as a monitored device. From that moment HA records long-term statistics for the energy entities, so the dashboard from last week and last month just works. No YAML required.
Tip: if you’re on ZHA and an entity doesn’t show up in the Energy dashboard, make sure it’s marked as an energy entity in Settings → Devices → the plug — the toggle is right there.
Step 3 — Keep the history long-term
The built-in recorder keeps statistics for years, but there are real reasons to add InfluxDB: you keep full-resolution measurements (not just hourly statistics), you can query anything with SQL-ish Flux, and Grafana turns it into beautiful dashboards.
We run InfluxDB for exactly that reason — it’s documented in our InfluxDB Migration Guide, including how we moved our existing HA history over and why the extra storage layer is worth it for a house full of sensors. Install the official InfluxDB integration in HA, point it at your InfluxDB instance, and choose which entities to record (energy + a few sensors is plenty; don’t dump everything at 1-second resolution).
Step 4 — Turn numbers into automations
This is where monitoring pays for itself. These are the patterns we’ve seen work — and the standby-discovery below is exactly what happened to us:
- Standby killer. Automate: if a plug reports above 0 W outside working hours and the device should be off, switch it off — or send a notification. Our old TV setup drew 11 W, 24/7 — about €25 a year for nothing. One plug, one afternoon, one automation idea.
- “Laundry is done”. A washer/dryer on a monitored plug: when power stays below ~5 W for 5 minutes after being above 100 W, notify “laundry done”. Cheaper than a dedicated detector and it reuses the same plug.
- Freezer/fridge alarm. If power drops to 0 W when it shouldn’t, you have a tripped breaker or a dead appliance — get a push notification before the food thaws.
- Weekly digest. Sum the week’s kWh per plug via a template sensor and send it to Telegram every Monday.
Keep the automations simple at first: one alert based on one real observation beats a dashboard nobody opens.
What it costs, and what it saved us
- Cost: one S60ZBTPF ≈ €15. InfluxDB and the Energy dashboard: free.
- What we found: an 11 W always-on TV standby (≈ 96 kWh/year, about €25–30/year depending on your tariff) — the plug paid for itself within a year on that single discovery, before counting everything else we stopped doing blindly.
- Honest caveat: if your home has no big always-on loads, monitoring won’t magically save hundreds. The win is visibility: you stop guessing which devices are expensive, and you catch faults early. That, plus the free mesh coverage from mains plugs, is a solid deal.
Prices and availability checked 2026-10-02. Commissions are earned from qualifying purchases — see our affiliate disclosure.